
For the uninitiated, PiHole is a way to scrub lots of ads AND improve the privacy of all devices using your internet provider at home. It’s a service most people run from a small, dedicated Raspberry Pi computer which you host on the network.
It does this by filtering all DNS queries on your network through a list of known advertising sites, and blocking those advertisers from placing ads on the webs you surf. It also blocks a good deal of monitoring of your devices by external webs spying on your devices at home. It lets you monitor which of your devices at home are most affected by “rogue dns hogs”, which can give you a heads-up on computers at home that may be compromised by malware. PiHole is also capable of managing DHCP IP address assignments on your network, and has other useful tools baked in. It’s really a terrific addition to your home network, and a good way to use any stray Raspberry Pi you have lying around.
There are very good how-to pages on setting up Raspberry Pi systems, and installing PiHole on them, but this post is not about that. We’re here to supply specific notes on implementing PiHole most effectively on a network using a router running the Fresh Tomato firmware.
Fresh Tomato routers, because of their complex configurations, have confounded numerous PiHole users; me among them. The page at this link reviews three different methods to make ad-blocking work in PiHole. Method 2 has advantages over the others, but the notes (derived from a different router firmware) don’t really show what to do in Fresh Tomato routers. The notes below worked for me to solve the problem. Here’s my configuration for PiHole with a Fresh Tomato router. (Asus RT-AC66W running Fresh Tomato 2022.3, and PiHole v5.14.1, running on an old RPi-2 and Raspian Lite.)
On the router:
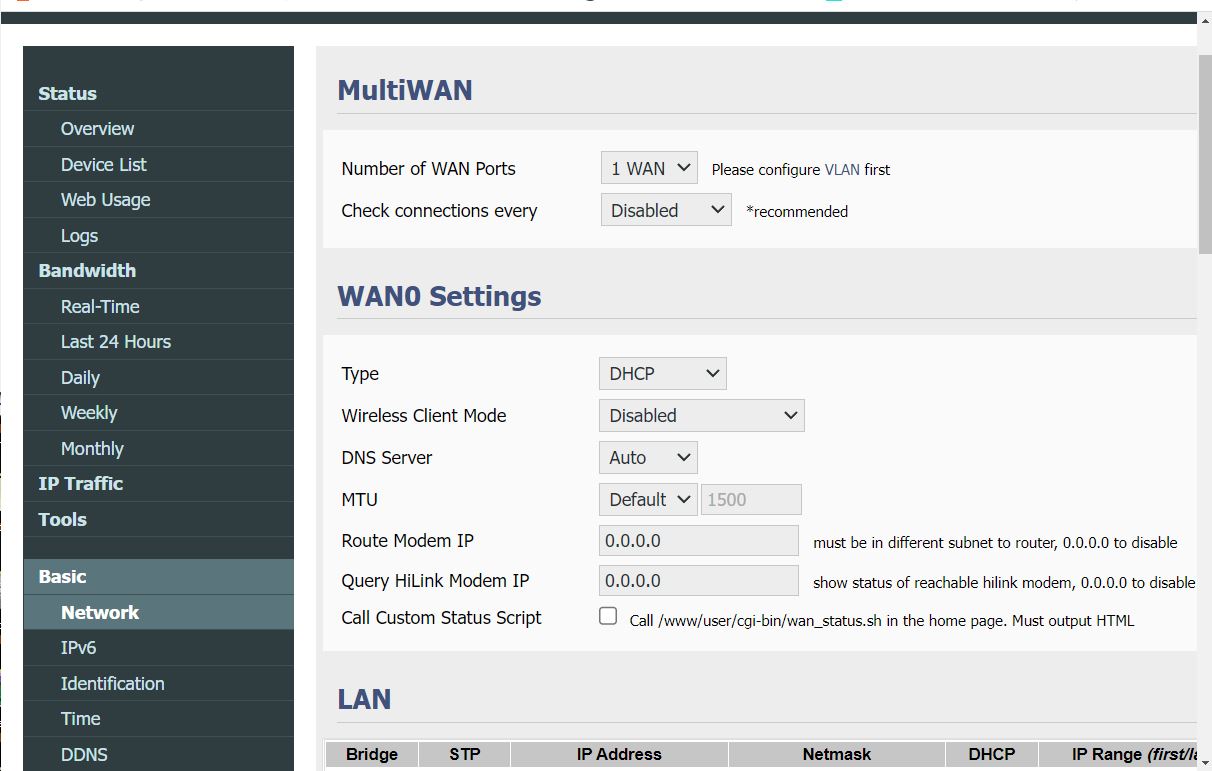
- Go to Basic: Network: WAN0 Settings: DNS Server , and set DNS Server to ‘Auto’. Click Save at the bottom of the page.
Next:
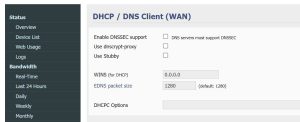
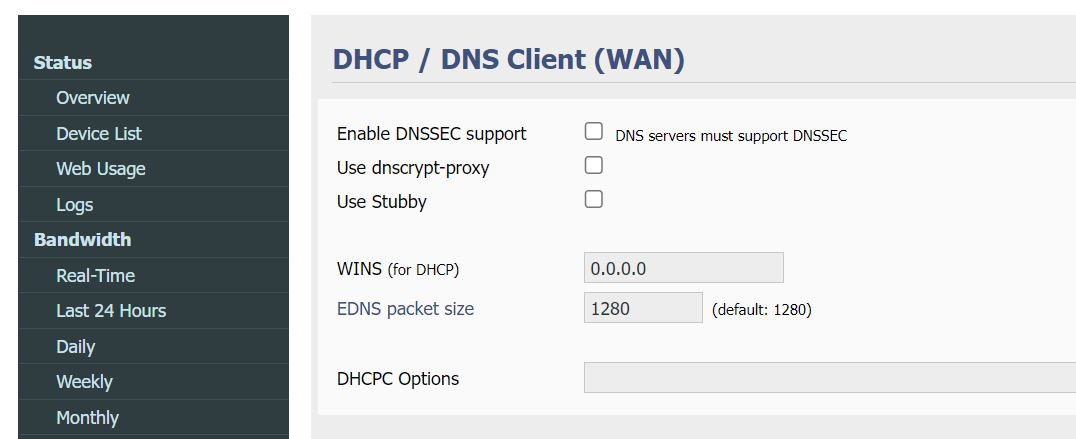
- Go to Advanced: DHCP/DNS: DHCP/DNS Client (WAN), and uncheck ‘Enable DNSSEC’, uncheck ‘Use dnscrypt-proxy’, and uncheck ‘Use Stubby’.
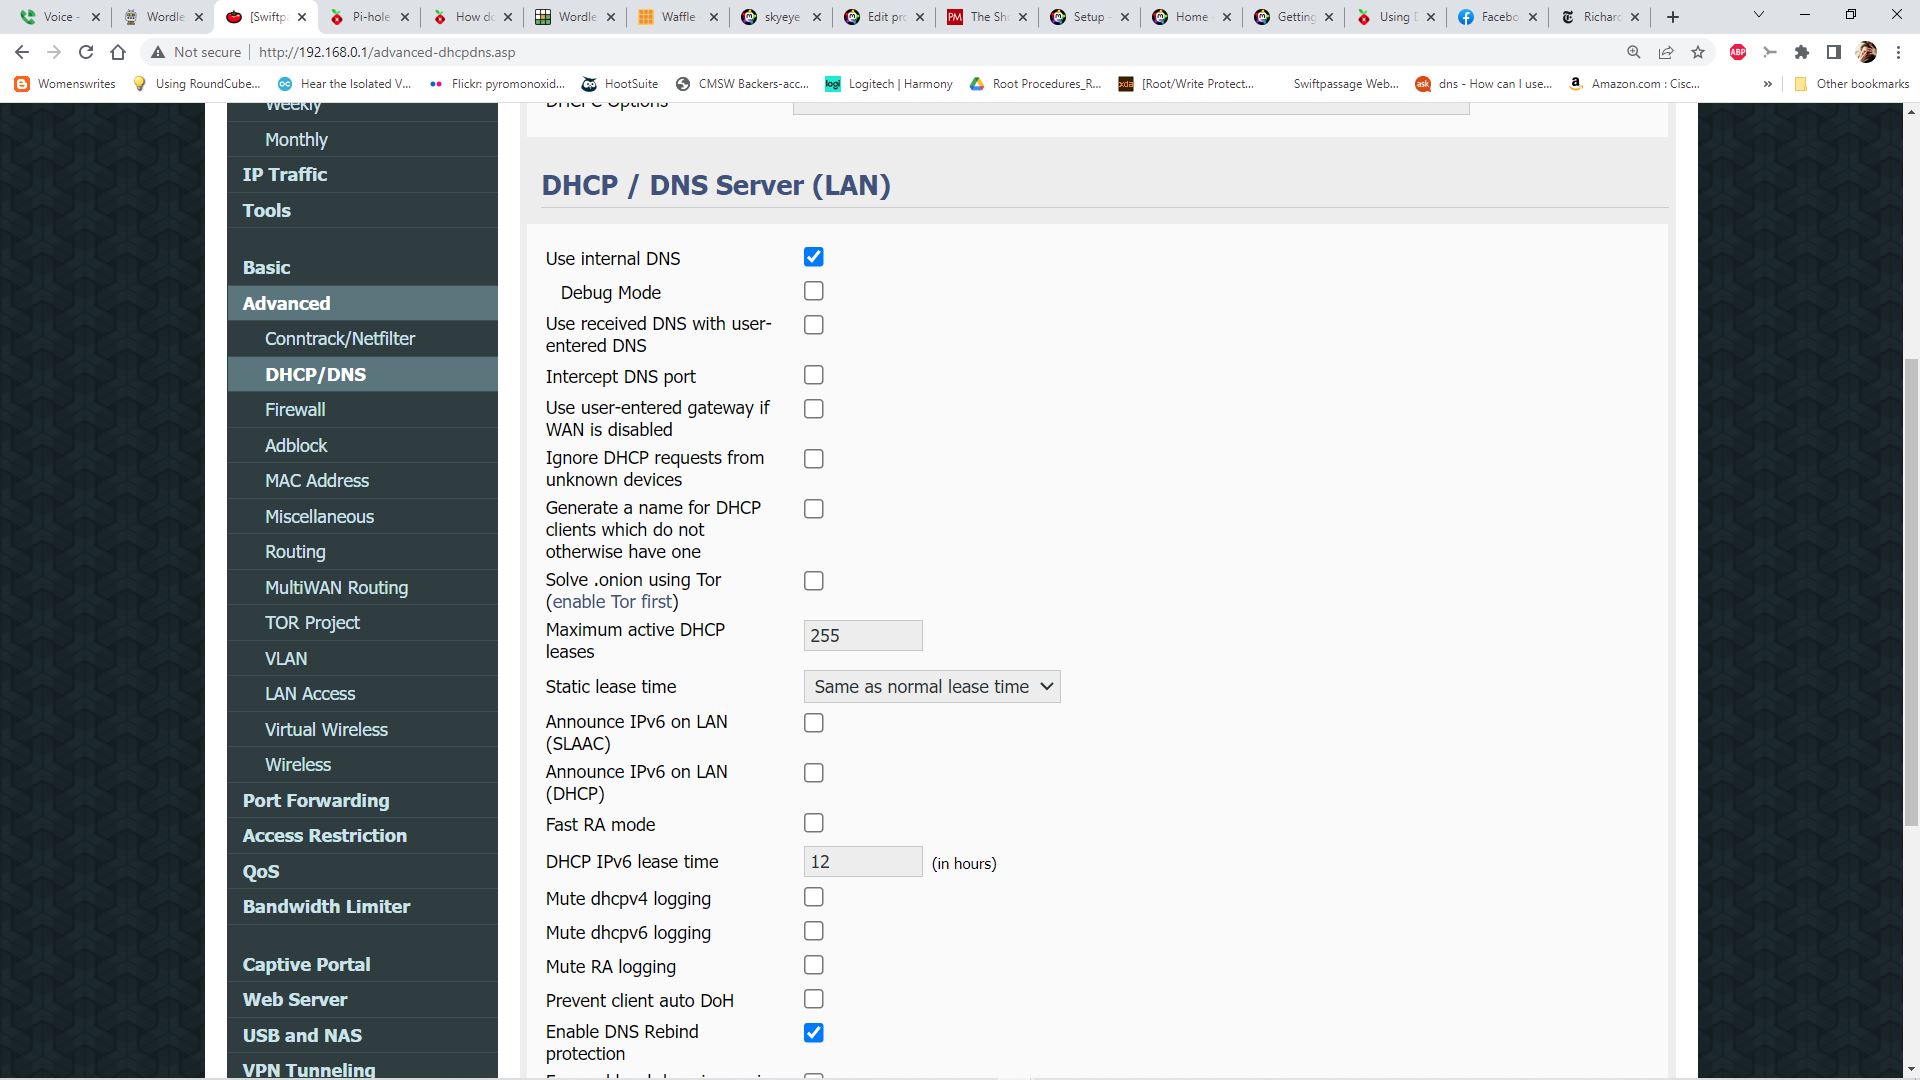
- Further down, find DHCP/DNS Server (LAN), and check ONLY ‘Use Internal DNS’ and ‘Enable DNS Rebind protection’.

- In the area for ‘dnsmasq – custom configuration’, Enter the following:
‘ dhcp-option=6,<ip of your pihole system>’ . Ours is as you see below:
- Click on Save.

Then, in PiHole:
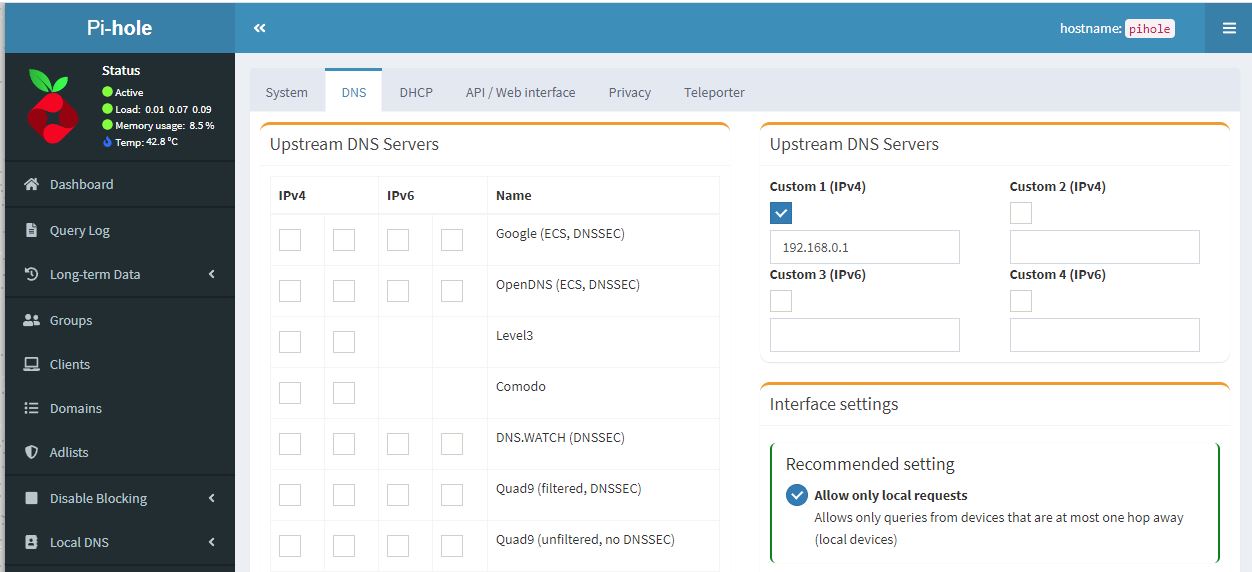
Go to ‘Settings’ and click on the DNS tab :
- At Upstream DNS Servers, Custom 1 (IPv4) enter your in-network router IP address.
- Check the recommended setting: ‘Allow only local requests’. (If your network is secured behind a firewall, the other choices may be acceptable.)

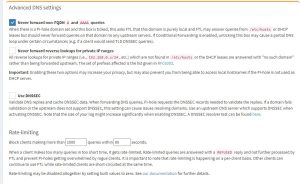
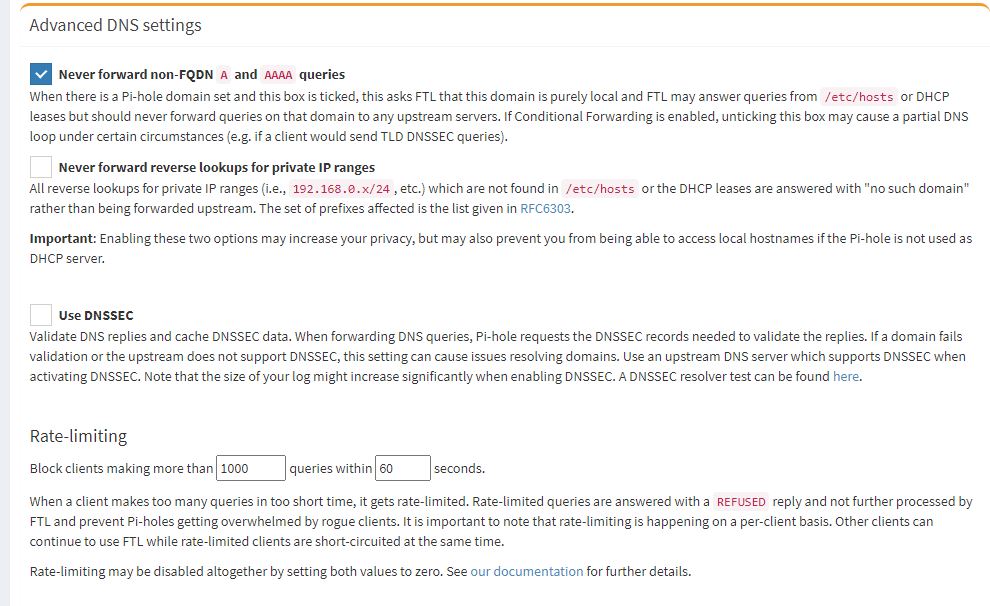
Advanced DNS settings-
- Check ‘Never forward non-FQDN A and AAAA queries’.
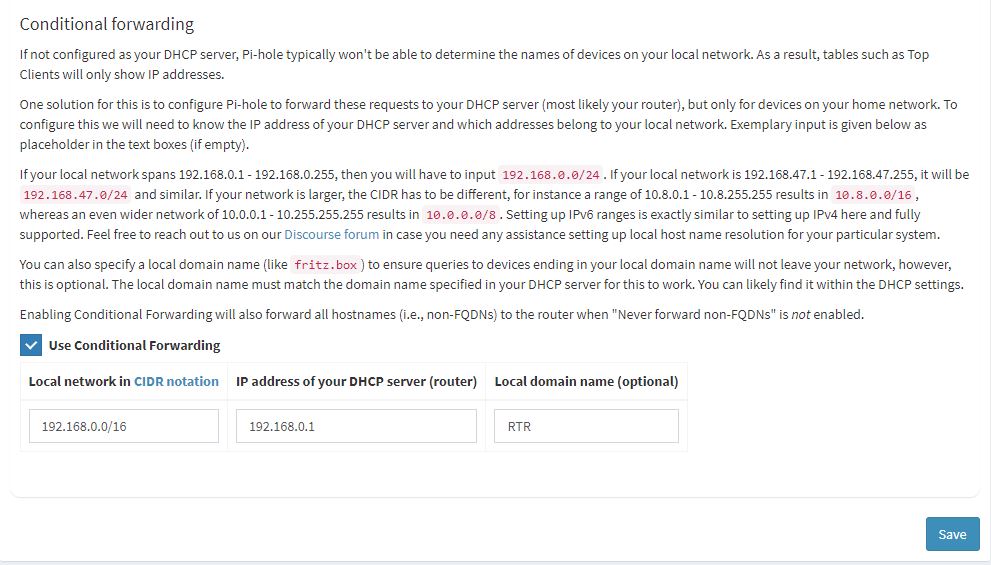
- Check ‘Use Conditional Forwarding’.
- Enter your Local Network in CIDR notation, and the IP address of your DHCP server (router).

- Click Save
I was very surprised that there was no need to enter anything beyond ‘Auto’ as noted for DNS Server on the router’s Basic page.
On your Windows client computers, review the DNS server settings for the network device, and set to default.
I spent considerable time trying to enable DNSSEC on the router, and in pihole, but it only broke things. If you have any insight on THAT problem, please post in the comments, and I’ll try to make it work, and add it here!
It is VERY helpful to view the query log while fiddling with these settings.
Good luck!
How would this be setup if Unbound is setup as recursive in Pihole?
I ask because in Pihole, under Custom 1, I use 127.0.0.1#5335.
thanks
I wish I could help you, but yours is a special case I’m unfamiliar with. Also, I no longer use Fresh Tomato as my primary router.
But in general, you would likely set the DNS primary server on your router to the Pi-hole IP address, so in Fresh Tomato at dnsmasq custom settings, for dhcp-option 6, I’d try putting in the ip address of your pihole system. I would try that first. Good luck!
Unbound does sound like an interesting tool to employ with PiHole. Thanks for bringing it to my attention.